How to Install a Tonneau Cover: Step-by-Step Guide 2026
Installing a tonneau cover is one of the easiest truck upgrades you can do yourself. Most take under 30 minutes. Here is exactly how to install a tonneau cover step by step.
Tools Needed
A tape measure, rubber mallet and sometimes a 10mm socket wrench. No drilling required for most modern covers. The TruXedo TruXport is famous for its 20-minute no-drill installation.
Step 1: Clean the Bed Rails
Clean rails thoroughly with isopropyl alcohol. Dirt or wax causes covers to leak or shift over time.
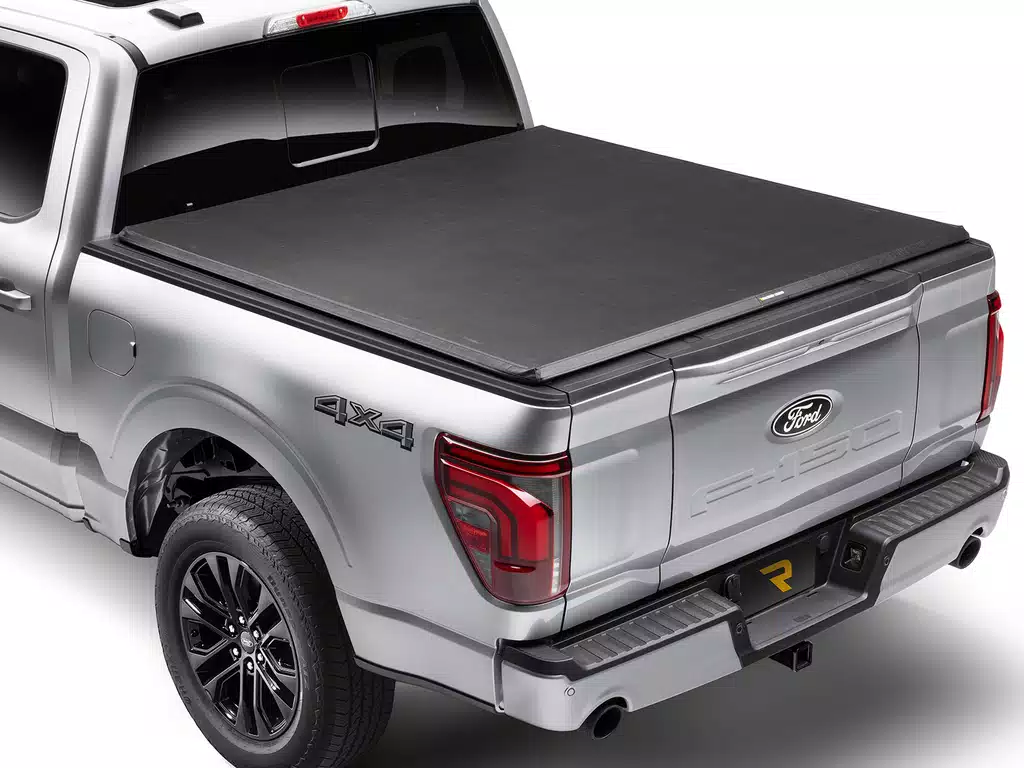
Step 2: Position the Cover
Lay the folded cover across the front of the bed aligned with the cab end. Measure from each side rail to confirm equal spacing.
Step 3: Attach the Clamps
Slide clamps under the bed rail from front to back. Hand-tighten each clamp without fully locking until all are positioned.
Step 4: Tighten and Test
Tighten all clamps fully then open and close the cover several times. Check that the tailgate seals properly on both sides.
Step 5: Adjust Tension
Soft roll-up covers like the Tonno Pro Lo-Roll have rear tension adjusters — tighten until the cover lays flat without sagging.
Hard and Retractable Covers
Hard covers like the BAKFlip MX4 are heavier — a second person helps. Retractable covers like the Retrax PRO MX require the canister mounted at the front — follow torque specs exactly. For model-specific videos, visit YouTube for manufacturer installation guides. Browse our complete tonneau cover collection.
Browse our full selection of tonneau covers, bed liners, toolboxes and accessories. Free shipping on orders over $250. Guest checkout — no account needed.
Shop All Products →